
Construction and Installation of Biodigesters
Biodigesters are innovative systems designed to manage organic waste while generating biogas and organic fertilizers. Their construction and installation involve careful planning, engineering, and adherence to environmental guidelines to ensure efficient and sustainable operation.
Step-by-Step Guide to Biodigester Construction and Installation
1. Site Assessment and Planning
- Location Selection: Choose a site that is easily accessible, close to the source of organic waste, and has adequate space for the biodigester and auxiliary systems.
- Soil Analysis: Conduct soil tests to ensure it can support the biodigester structure.
- Climate Considerations: Ensure the system is suitable for the local temperature range to optimize microbial activity.
2. Design and Sizing
- Determine Capacity: Calculate the daily organic waste input and biogas output requirements.
- Design Type: Select the appropriate biodigester model, such as fixed dome, floating drum, or tubular.
- Structural Design: Develop a blueprint for the digester tank, inlet and outlet pipes, gas storage, and slurry management systems.
 3. Material Procurement
- Use durable, high-quality materials for construction:
- Concrete: For fixed-dome structures.
- Steel or Plastic: For floating drum biodigesters.
- PVC: For tubular biodigesters and biogas storage bags.
- Gas-tight materials for pipes and valves to prevent leaks.
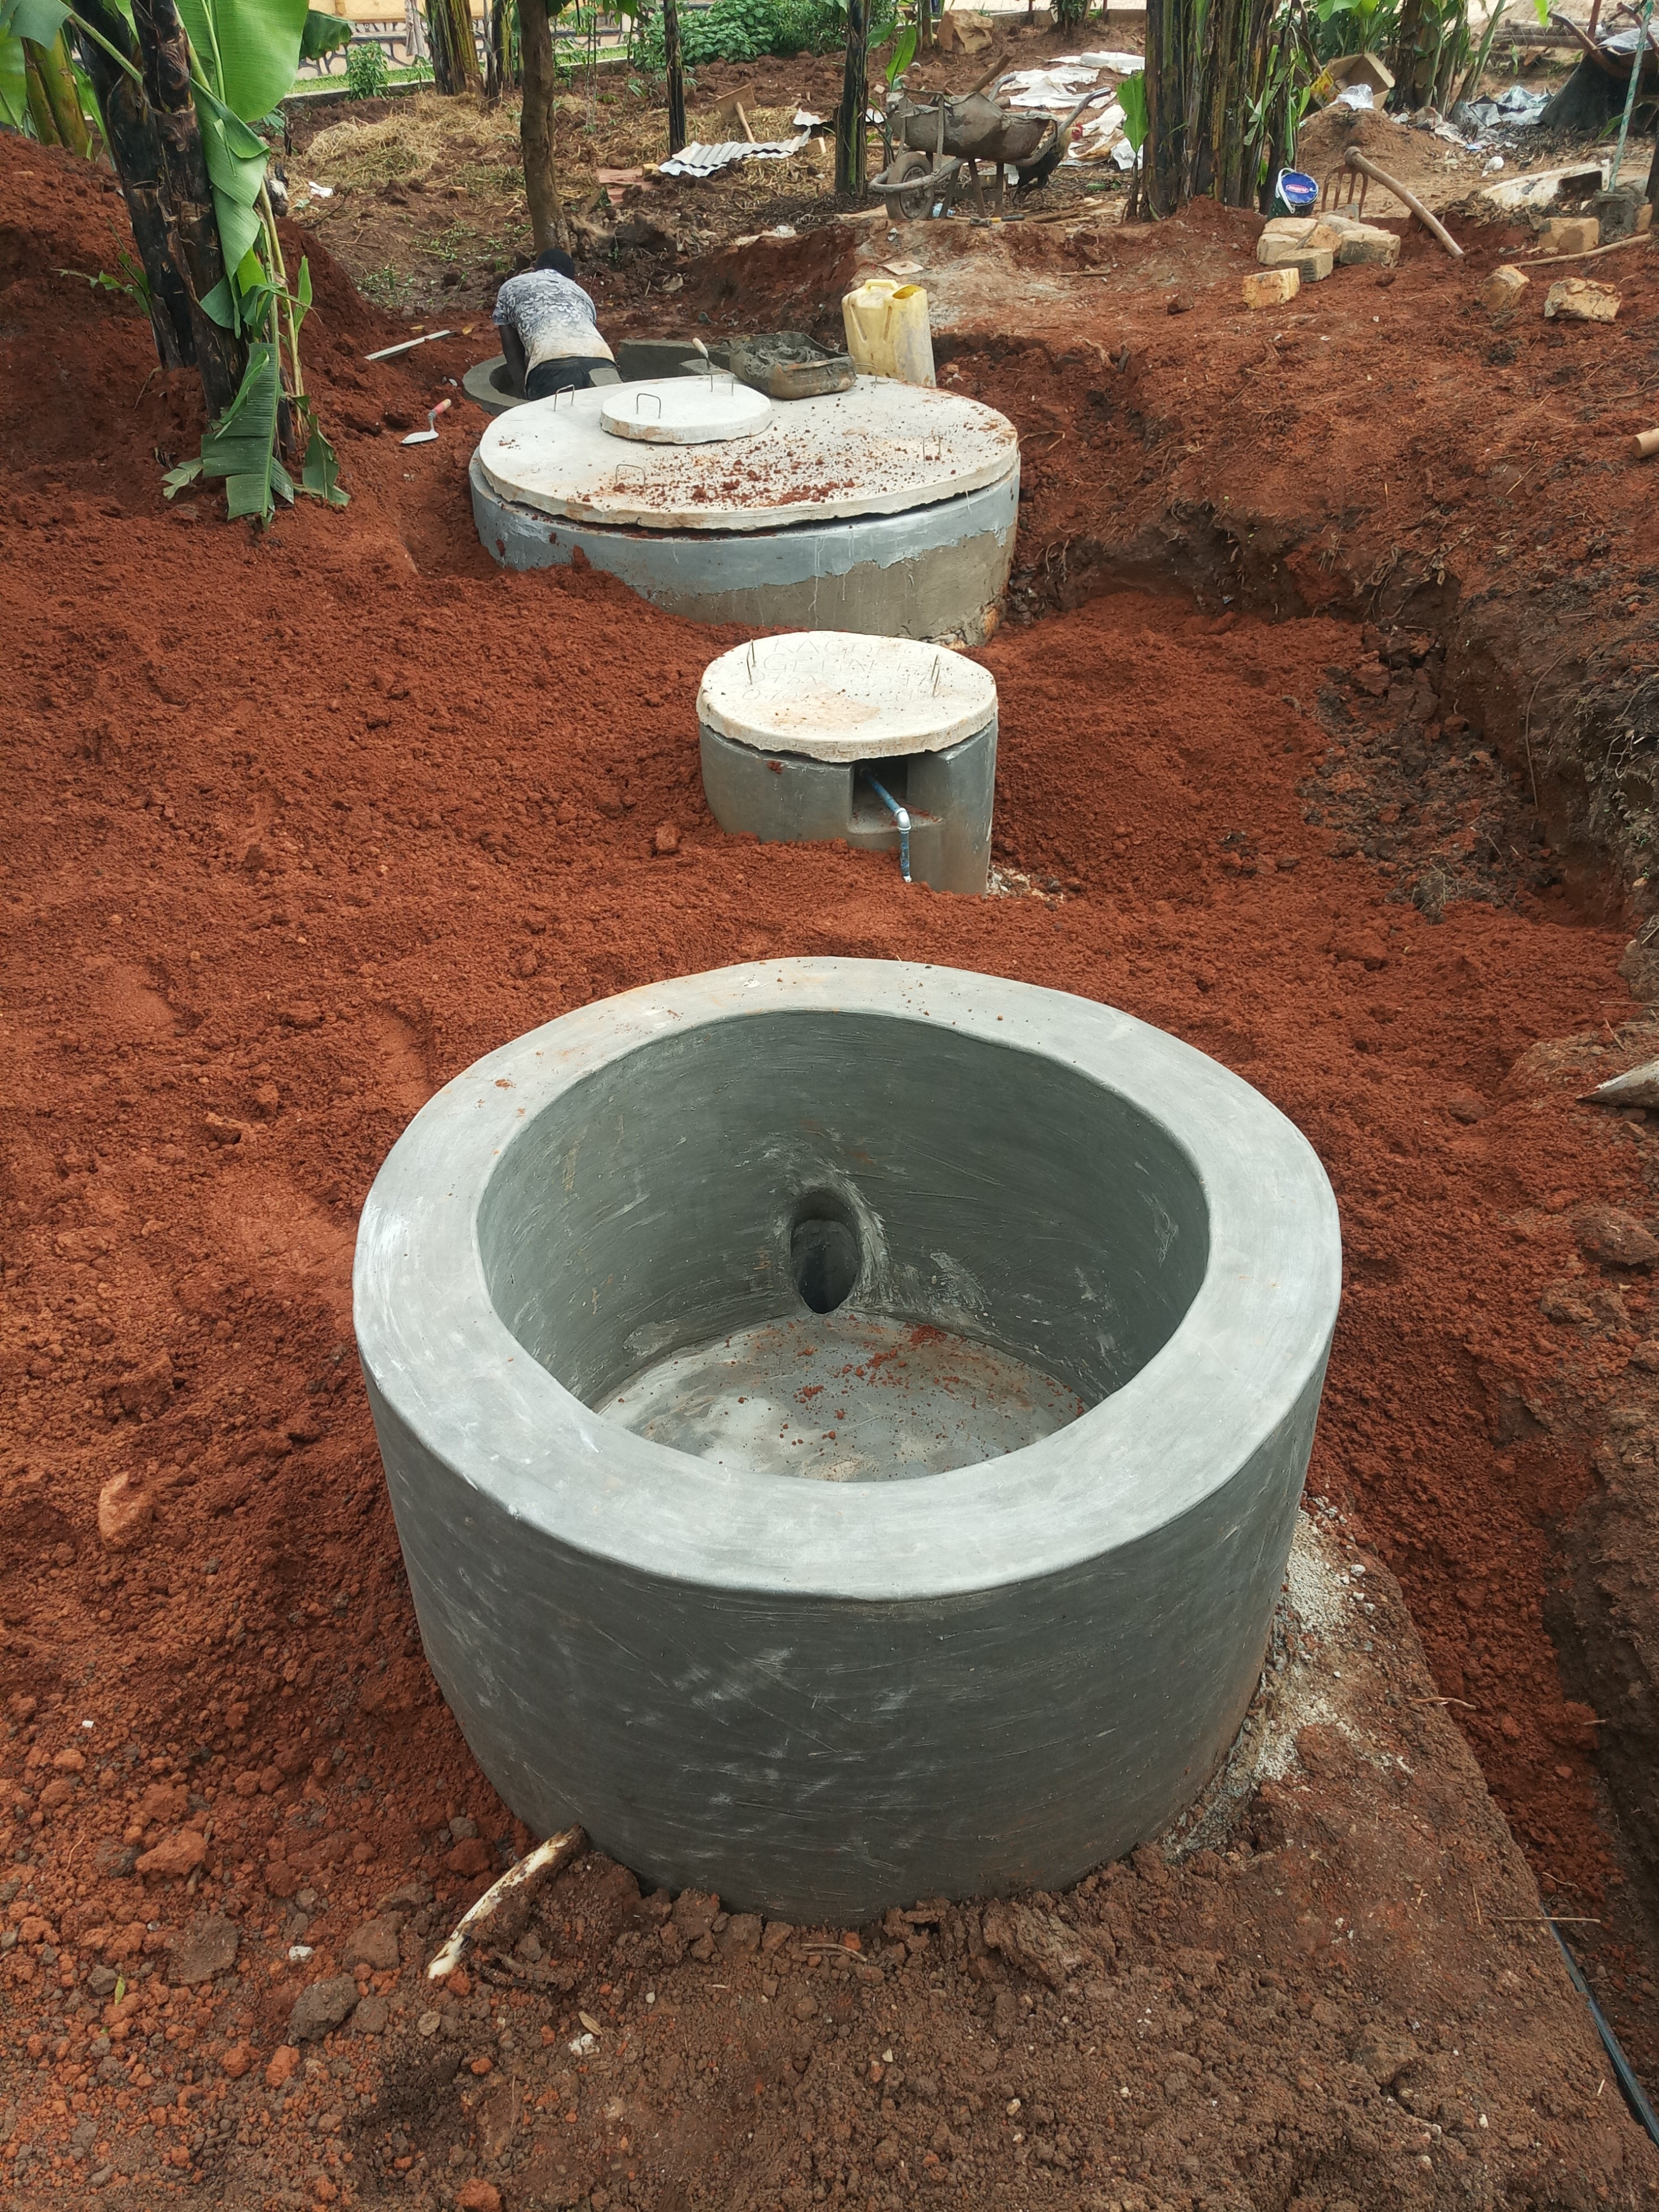
4. Construction
- Excavation:
- Dig a pit according to the size of the biodigester.
- Ensure proper leveling and compaction of the base.
- Tank Construction:
- Build the digester tank using reinforced concrete, bricks, or prefabricated materials.
- Install a gas-tight cover for anaerobic digestion.
- Inlet and Outlet Installation:
- Connect the inlet for organic waste and water slurry.
- Install the outlet for digested slurry and ensure it leads to a safe disposal or utilization area.
5. Installation of Gas Collection and Storage System
- Fit gas pipes with pressure gauges, safety valves, and gas taps.
- Attach the gas storage system, such as a floating drum or PVC biogas storage bag.
- Ensure leak-proof connections throughout the system.
6. Testing and Commissioning
- Leak Test: Check all joints and connections for gas leakage.
- Initial Loading: Add a starter culture (e.g., cow dung mixed with water) to activate microbial digestion.
- Gas Production: Monitor the system to ensure biogas is produced within 10-15 days.
7. Maintenance and Training
- Provide training for users on feeding the biodigester, maintaining gas pipes, and using biogas safely.
- Conduct periodic inspections to check for blockages, leaks, and structural integrity.
Advantages of Biodigesters
- Waste Management: Effectively converts organic waste into useful by-products.
- Energy Generation: Produces clean and renewable biogas for cooking, heating, and electricity.
- Environmental Benefits: Reduces greenhouse gas emissions and reliance on fossil fuels.
- Soil Fertility: Generates nutrient-rich organic slurry for agricultural use.
Applications of Biodigesters
- Household Level: For families to manage kitchen waste and generate biogas for cooking.
- Agricultural Use: Converts animal manure into biogas and organic fertilizer.
- Industrial Scale: Processes food waste and organic residues for energy generation and waste reduction.
Conclusion
The construction and installation of biodigesters require technical expertise and careful planning to ensure long-term benefits. When properly designed and maintained, biodigesters serve as a sustainable solution for waste management and renewable energy production, contributing to a cleaner environment and improved resource efficiency.